
깃허브 블로그 만들기 for Mac OS: 6. 댓글기능 추가 (Utterances)
댓글 (Utterances)
원래는 giscus를 설치해서 사용하려고 페이지에 댓글창까지 띄우는것 까지 성공했으나, 원할하게 작동하지 않아서 아쉬운대로 Utterances를 사용하기로 했다. 가볍고, 광고없고, 깃허브를 기반으로 하고, 마크다운 문법 사용이 가능하다. 무엇보다 굉장히 간단하게 기능을 추가할 수 있다.
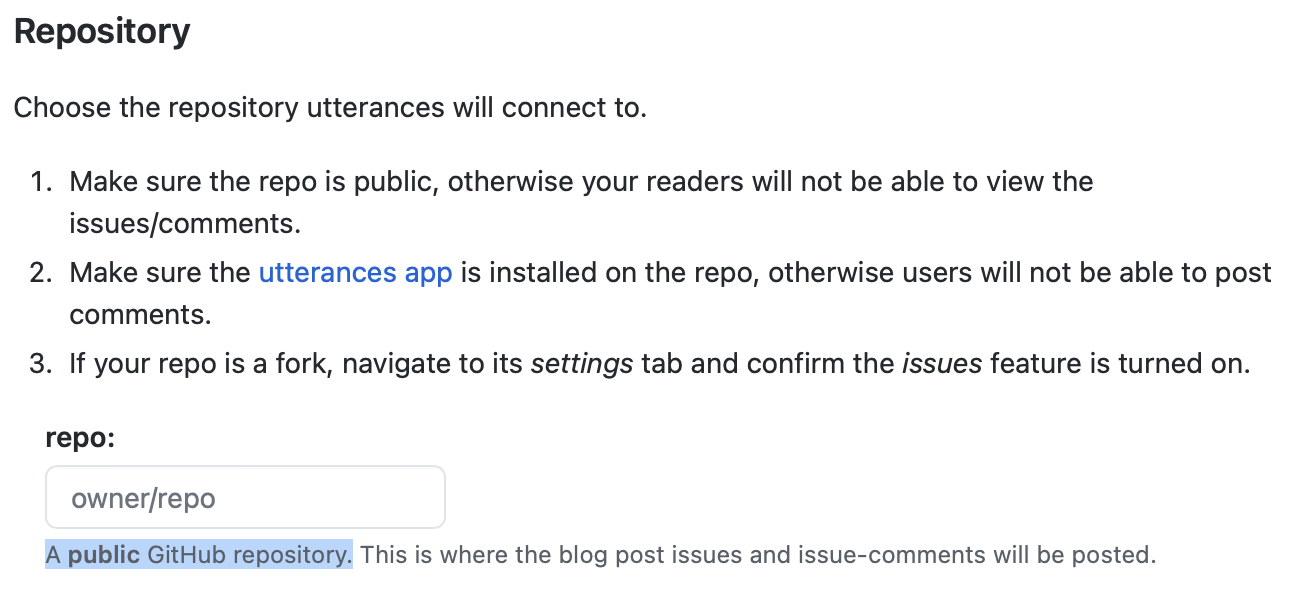
- 첫번쨰로는 Repository를 Public으로 바꿔준다.
- https://github.com/apps/utterances 로 들어가서 기능을 설치한다. 이 때 댓글에 달린 내용이 내 블로그 저장소 Issue에만 업로드 되게 설정을 해준다 (특정한 저장소 지정)
- 설치후 나오는 페이지 작성하는데 가장 먼저 나의 Repository 경로를 작성한디.
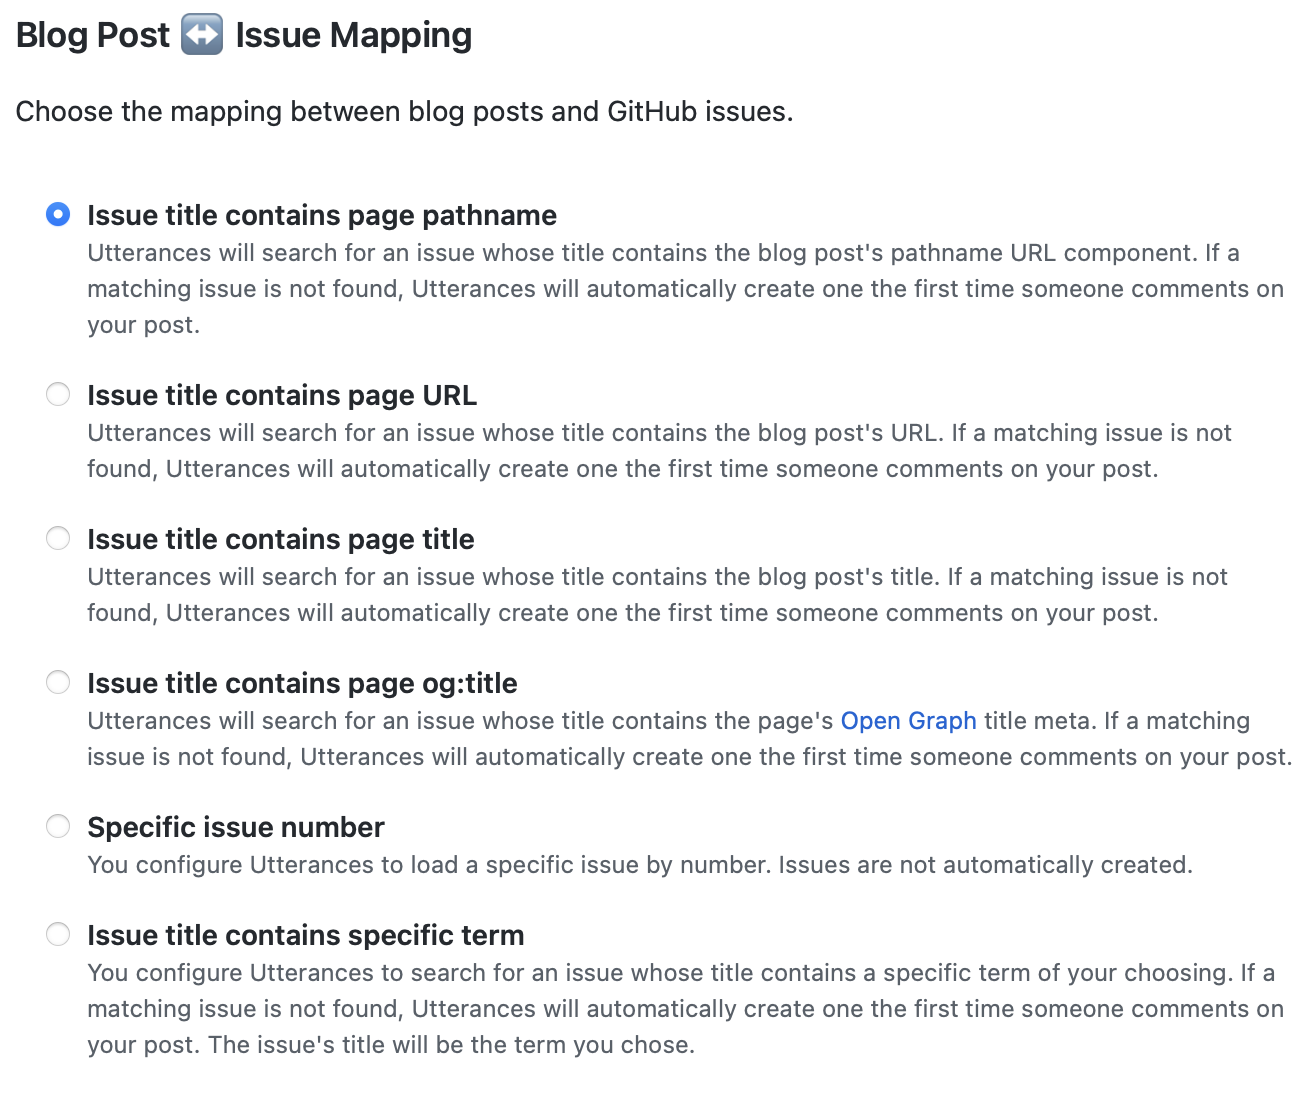
- Issue Title은 페이지 경로가 가장 식별하기 쉬울 것 같아서 pathname으로 지정한다.
- 내 Github Pages 테마에 맞춰서 테마를 지정해준다
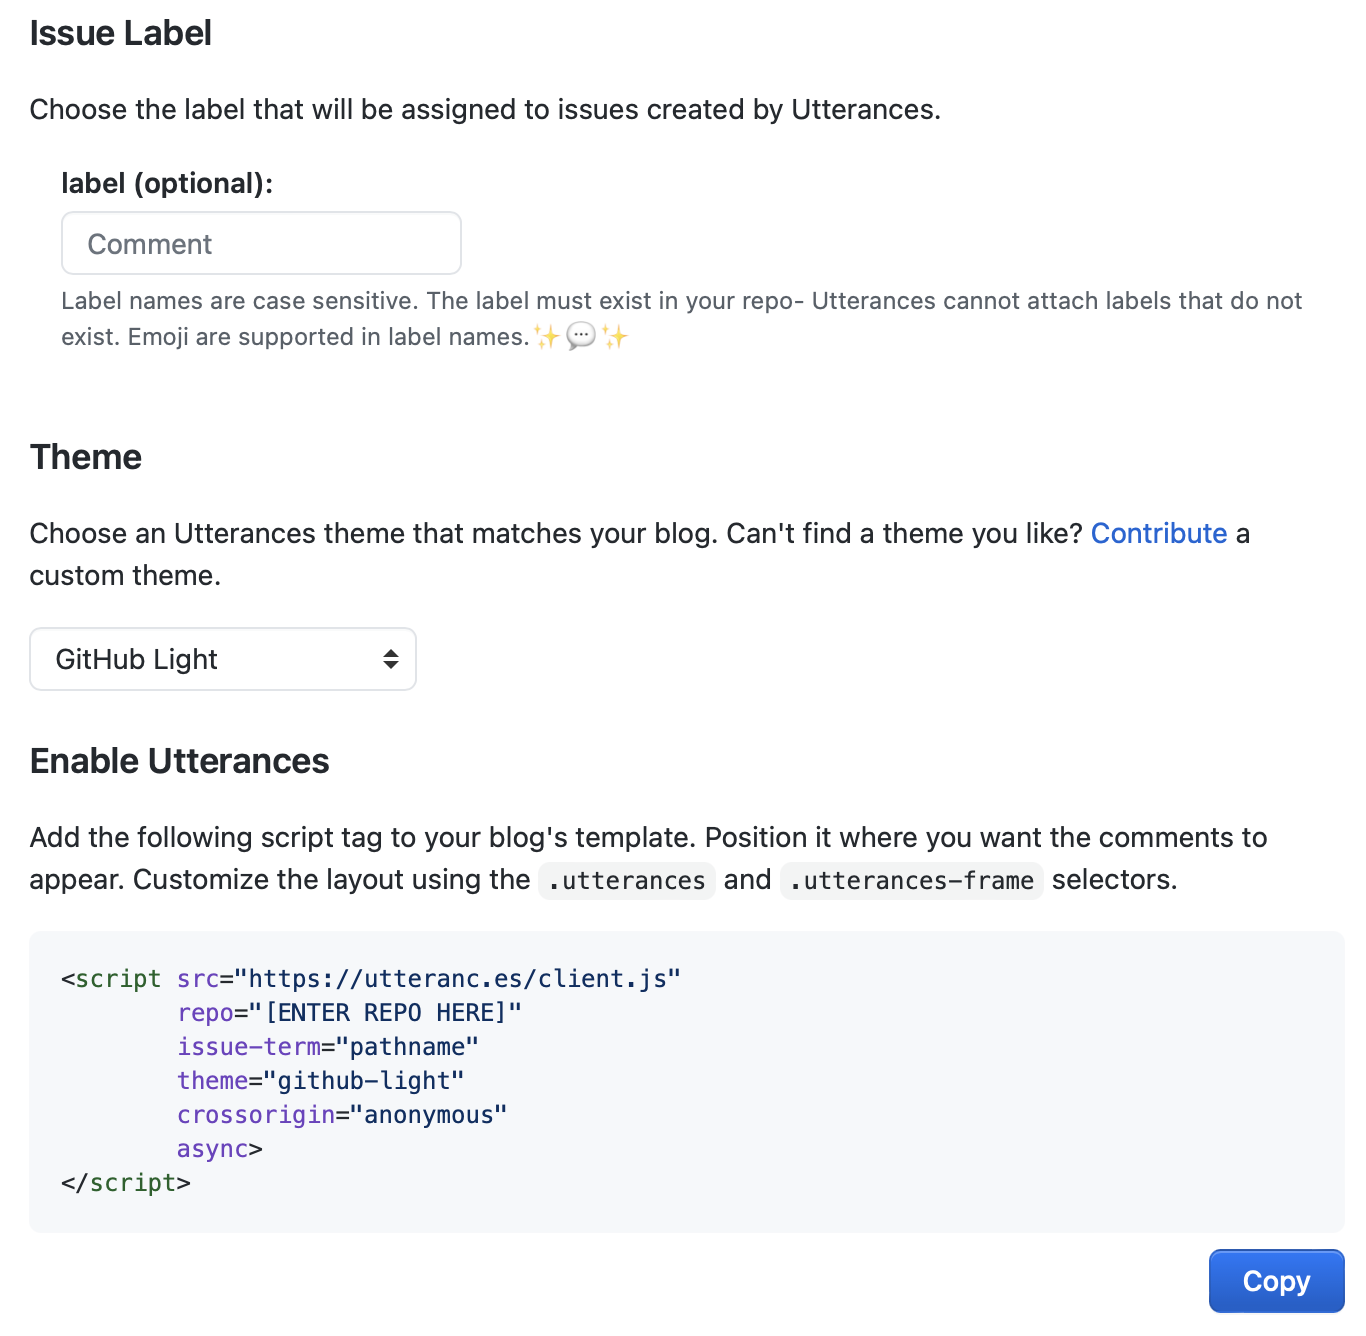
- 코드를 수정한다.
# 약 35번째 줄에서 시작되는 comments 라인 다음과 같이 수정
comments:
  provider               :  "utterances" # false (default), "disqus", "discourse", "facebook", "staticman", "staticman_v2", "utterances", "giscus", "custom"
  disqus:
    shortname            : # https://help.disqus.com/customer/portal/articles/466208-what-s-a-shortname-
  discourse:
    server               : # https://meta.discourse.org/t/embedding-discourse-comments-via-javascript/31963 , e.g.: meta.discourse.org
  facebook:
    # https://developers.facebook.com/docs/plugins/comments
    appid                :
    num_posts            : # 5 (default)
    colorscheme          : # "light" (default), "dark"
  utterances:
    theme                : "github-light"  # "github-light" (default), "github-dark"
    issue_term           : "pathname" # "pathname" (default)
    label                :
  giscus:
    repo_id              : # "https://giscus.app/client.js" # Shown during giscus setup at https://giscus.app
    category_name        : # "Announcements" # Full text name of the category
    category_id          : # "R_kgDOI9Um9Q" # Shown during giscus setup at https://giscus.app
    discussion_term      : # "pathname" # "pathname" (default), "url", "title", "og:title"
    reactions_enabled    : # 1 # '1' for enabled (default), '0' for disabled
    theme                : # "light_protanopia" # "light" (default), "dark", "dark_dimmed", "transparent_dark", "preferred_color_scheme"
  staticman:
    branch               : # "master"
    endpoint             : # "https://{your Staticman v3 API}/v3/entry/github/"
-
Push후 결과를 확인한다. (Local이 아닌 실제 페이지에서)
-
결과를 기다리면서 Github Repository에서 Setting/Features 로 가서 Issues 박스를 체크해준다.
댓글남기기